If you stumble upon this, I assume you are a total beginner. Using Pinterest for your personal use is not that difficult. You can start a personal account and start pinning. But if you want to use it for professional reasons, you must learn how to use Pinterest for beginners.
It is not just simple to create pins, throw some links, and wait for the magic to happen. You have to get active and learn the ins and outs of Pinterest.
Let us start with how to use Pinterest for beginners
Pinterest is changing a lot, and in 2020, so many things changed with new algorithm updates.
What is Pinterest?
Pinterest is a social media platform with extreme elements of search engines. Furthermore, it is visual, so the content is presented as images instead of text. Therefore, it is an amalgamation of social media and search engines.
1. Sign up for a Pinterest account to grow your blog traffic
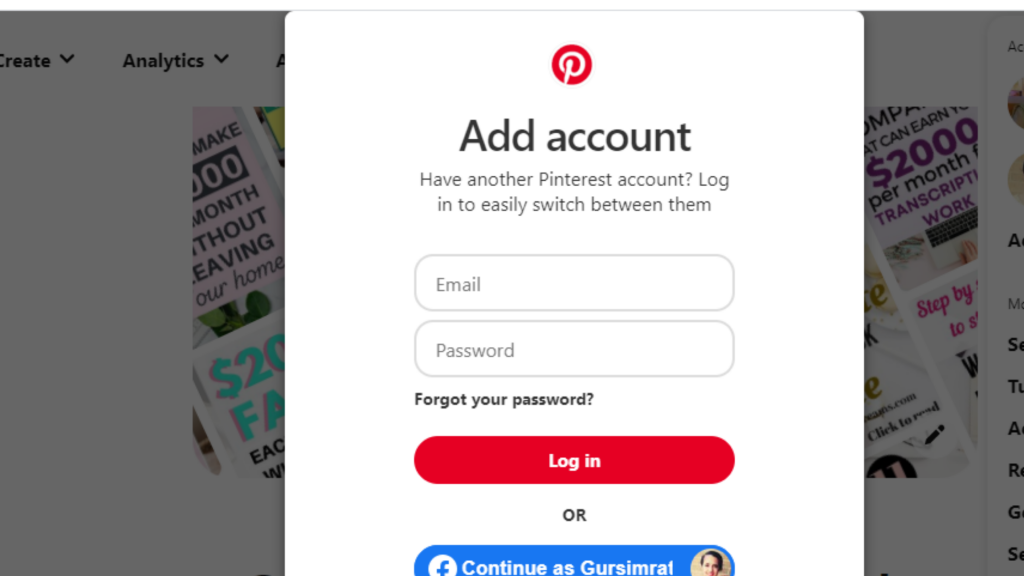
Signing up for a Pinterest profile is easy. Go to Pinterest and sign up with your email. You can sign up either with your Facebook or Twitter account. You will have your profile running just by submitting your information. After signing up, you will get a confirmation email. After you confirm your account, you are set to start.
Complete your profile with the keywords. Of course, don’t stuff keywords, but you can always add them nicely and in the context of your niche.
The form you have selected does not exist.
2. Turn it into a business account
If you want to use Pinterest for your business or blog to grow, convert your account to a business account. A business account allows using of analytics for your account. It will become easy to measure the growth of your blog. In addition, a business account gives a professional look to your page.
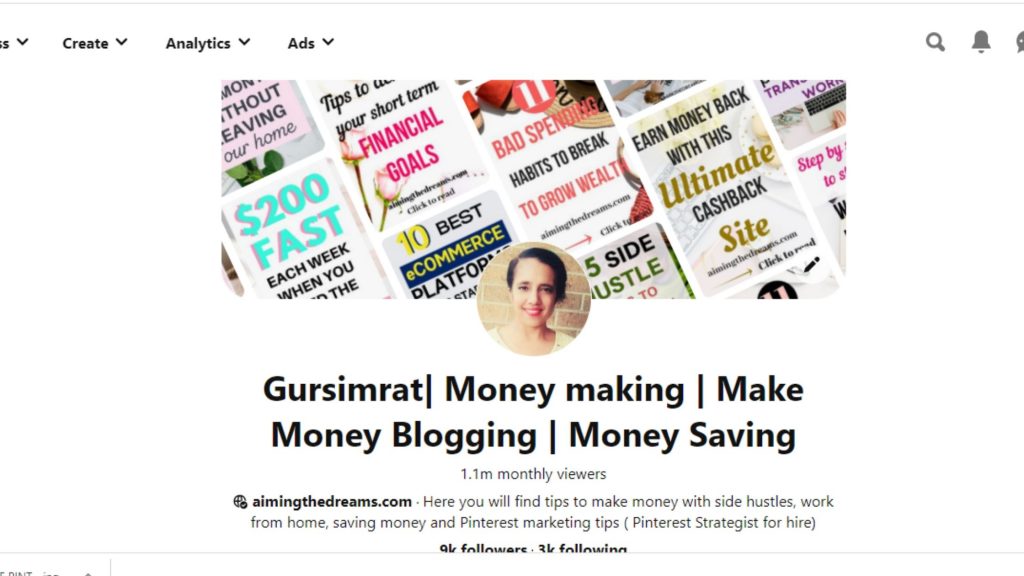
Profile Name: The name on your profile could be your name or your business name, followed by keywords specific to your business or blog. Here is an example,
EnableRich Pins: Rich pins are the organic pins that show more data about the Pin’s content. In simple words, it provides more information about the Pin’s content.
Pinterest SEO and keywords: Pinterest SEO is required if you want to start getting good traffic from Pinterest.
3. Create at-least ten boards related to your niche
Create at least ten boards related to your niche. Name your boards according to keywords. Type a word in the search area for keyword searches and see what comes up. The name according to the keywords but don’t overdo it.
Earlier it was stated to add lifestyle boards to your account. But now, Pinterest favors accounts which have interrelated content. So it means you should create boards related to your niche instead of making some random boards.
Group boards: Group boards are not as effective as they used to be, but still, they are relevant. Try to join the boards, which are tight niches. Boards with several categories are not effective. While looking for group boards, check their description and only apply for those optimized with keywords.
You can check for group boards at Pringroupie.com.
4. Start making pins
Design your beautiful vertical pins to add to your boards. For example, whenever you write a blog post, try to make at least three pins with different designs for your post. And add them to your boards. For creating pins, use Canva. Canva is easy to navigate.
When you start working on Canva, it feels overwhelming, but when you get some practical experience, it becomes easy, and you can make beautiful pins as you like. You can play with colors, fonts, pics sizes, and many more.
5. Upload pins to relevant boards
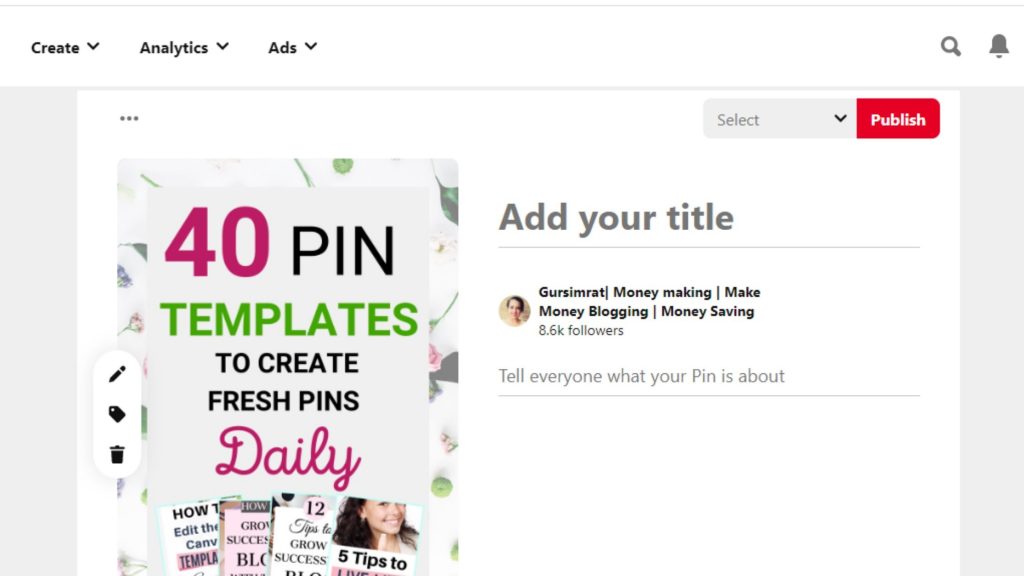
Now that you have created pins for your post, add them to relevant boards. While uploading makes sure, you write keyword-rich description on your pins.
There are two methods to upload your pins to Pinterest. Upload them first to your post and then pin them to Pinterest boards. Or upload the image directly to Pinterest and add your post URL and description to the pin.
You can also schedule your pins either on Tailwind or on Pinterest itself.
6. Link to your blog posts
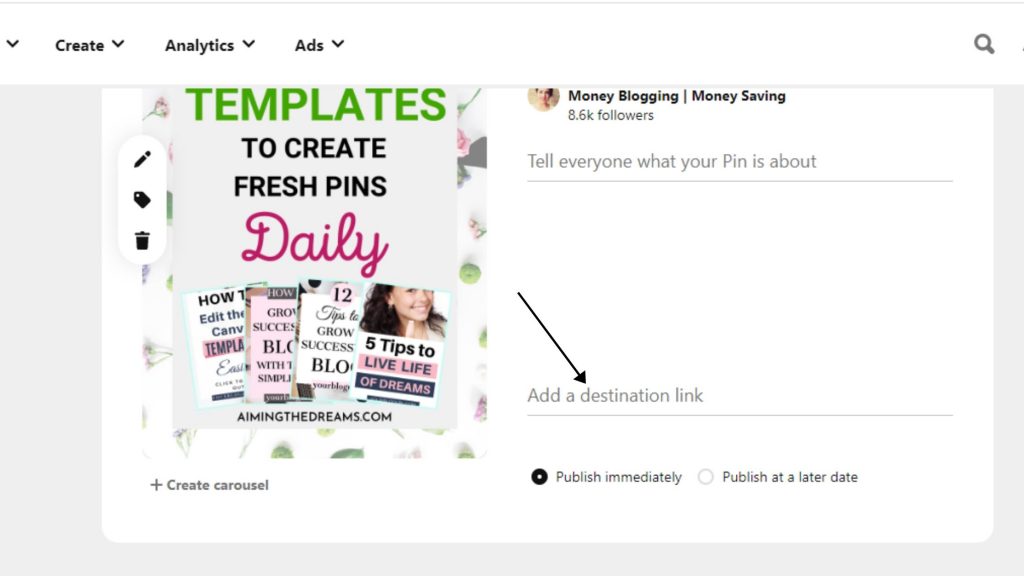
Always add relevant blog post URLs to the pin. Adding an appropriate URL makes it easier for a person to go to your blog post; if somebody wants to read it, you can go directly to it. If you do not add a URL to your pin, it will say ‘ Uploaded by user. ‘ In this case, you will lose potential viewers to your blog.
7. Write pin descriptions
Pin descriptions are essential. Pinterest is a visual search engine the same as google, but here the magic is in ‘images.’ You see an image, you like it, and click on it. These pins or photographs have descriptions that help them show in the bright feed.
Keywords in Pin description and text overlays help your account to get found. It shows Pinterest what your image is about so that it can show your content to relevant people.
8. Schedule your pins using Tailwind
For consistent growth on Pinterest, you need to pin several times a day and every day. It is difficult for a blogger to have so much time to spare daily for publishing pins. So here comes the lifesaver ‘Tailwind.’ It is a pin scheduler where you can schedule pins for a week in advance.
You can spend an hour scheduling your pins for a week. And then upload some pins every day manually if you find the time. Tailwind is a scheduler approved by Pinterest and can be used to schedule pins in advance.
9. See your traffic growing
Pinterest takes a little time to grow your traffic, but you can tap that traffic to your advantage once it starts. If you want to focus on increasing your traffic fast, invest in some courses. You can grab my ebook here
The form you have selected does not exist.
9 popular blog topics that make the most money
10. Check your Pinterest analytics
Pinterest analytics is a great way to interpret the growth of your account. Initially, it feels a little overwhelming, but with experience, you will learn to track your progress on Pinterest.
11. Affiliate Marketing with Pinterest
If you want to try affiliate marketing with Pinterest, you can try so. Upload the pin the same way to Pinterest, and at the place of your post URL, you can add your affiliate link.
